Bathroom Waterproofing During Renovation: What Melbourne Homeowners Need to Know
Bathroom waterproofing in Australia must comply with AS 3740-2021 and should be carried out by a qualified, experienced waterproofer who issues a compliance certificate on completion. Core AS 3740 requirements: the shower membrane must extend 1800mm up the walls and 150mm beyond the shower screen on all sides; the entire bathroom floor must be waterproofed with a 150mm upstand at every wall and 40mm past the doorway; and bond-breaker tape must be applied to all internal corners. Industry best practice is a 24-hour flood test before tiling — any contractor who pushes back on flood testing is one to avoid. Always insist on a written compliance certificate and a workmanship warranty; without them, your insurance position and resale value are both weakened.
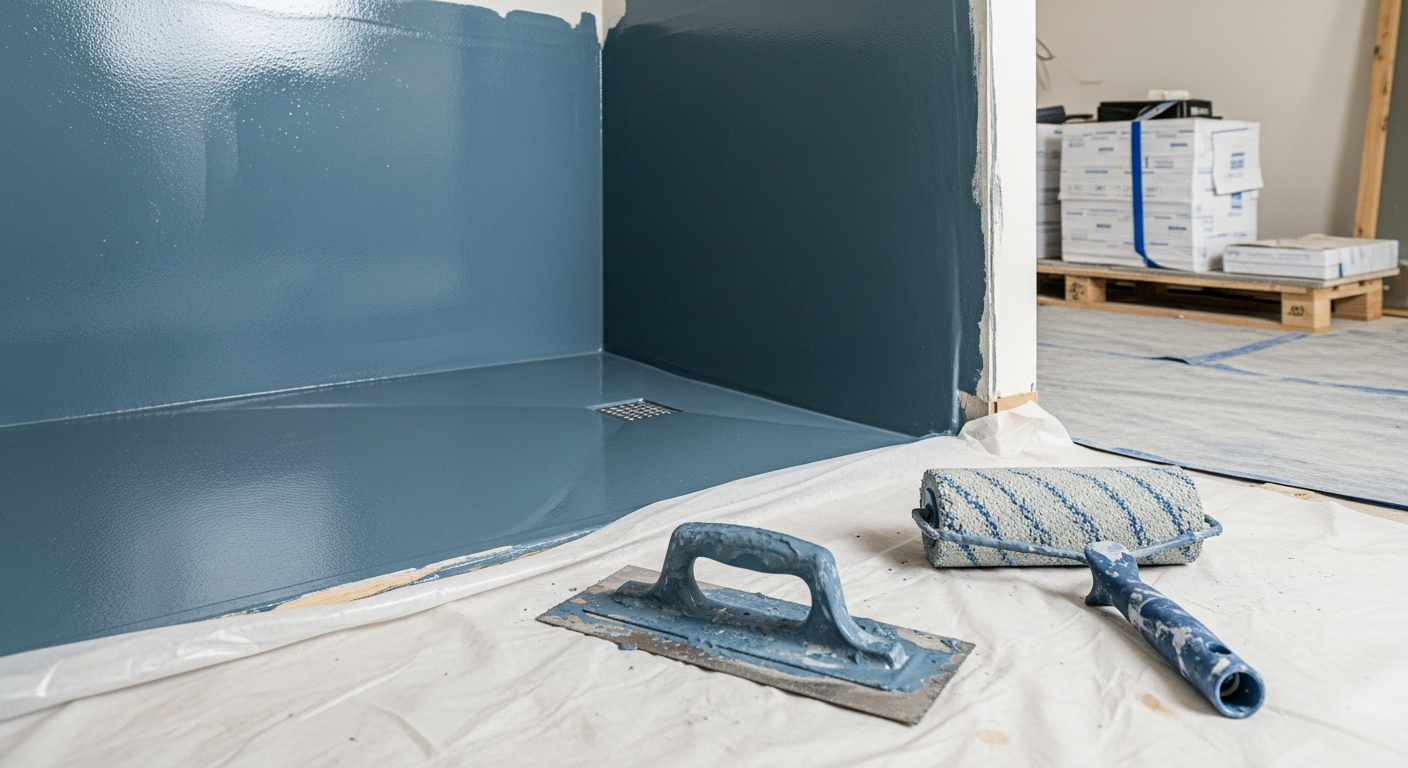
Renovating your bathroom? Waterproofing is the most critical — and most commonly botched — element. Here's what Australian Standards require and what to look for.
Bathroom renovations are the most common home improvement project in Australia, and waterproofing is hands-down the most important step. Get it wrong and you're looking at structural damage, mould, and a renovation that needs to be ripped out and redone within a few years. Yet waterproofing is also the step most often rushed, cheapened, or done by unqualified tradespeople.
Why Bathroom Waterproofing Failures Are So Expensive
When other building defects fail, you can usually access and repair them. When bathroom waterproofing fails, the membrane is sitting under the tiles, the bedding compound, the screed, and often the structural floor. To repair it you have to remove all of that — meaning the entire bathroom is essentially demolished and rebuilt.
A typical Melbourne bathroom waterproofing failure that started as a sub-$3,000 waterproofing job and was done cheaply often ends up costing:
- •$8,000–$15,000 to strip and rebuild the bathroom itself
- •$3,000–$10,000 to repair damage to adjacent rooms and the level below
- •$2,000–$8,000 in mould remediation if it's been leaking for a while
- •4–8 weeks where the bathroom is unusable
This is why the small saving from cutting corners on the original waterproofing — perhaps $500–$1,500 — is the most expensive saving you'll ever make.
What Australian Standards Require
The relevant standard is AS 3740-2021 (Waterproofing of domestic wet areas), which sits alongside the NCC (National Construction Code) Part F2D2. AS 3740 was updated significantly in 2021 with tighter requirements for hobless showers and substrate compatibility. Key requirements:
Shower Areas
- •The shower floor must be waterproofed
- •The membrane must extend at least 1800mm above the finished floor level on all shower walls
- •The membrane must extend at least 150mm beyond the shower screen on all sides
- •The shower base must have falls to the drain of at least 1:100 (10mm per metre)
- •For hobless (step-free) showers, additional requirements apply to contain water within the wet zone, including specific drain detailing and substrate slope
General Bathroom Floor
- •The entire bathroom floor must be waterproofed
- •The membrane must turn up at all walls by at least 150mm (known as the "upstand")
- •At doorways, the membrane must extend at least 40mm past the finished frame
- •The floor must fall to a floor waste at minimum 1:100
Walls Outside the Shower
- •A horizontal band of waterproofing is required at the wall-floor junction
- •Behind baths and around basins, additional waterproofing is required where water is likely to splash
Around Fixtures
- •All penetrations (pipes, drains, outlets) must be sealed with compatible products
- •Bond breaker tape must be applied at all internal corners and wall-floor junctions before membrane application — this allows the membrane to bridge small movements without tearing
- •The drain flange must be integrated with the waterproofing membrane via a proprietary collar
Who Can Do the Work
Wet area waterproofing should be carried out by a qualified, experienced waterproofer who can issue a compliance certificate against AS 3740-2021 and provide a workmanship warranty. Specific licensing, registration and certification requirements vary by state and are updated from time to time — check the current rules in your state and confirm in writing that your contractor meets them before work starts.
Substrate Matters: What You're Waterproofing Onto
The substrate underneath the membrane is critical. AS 3740-2021 specifies which substrates are acceptable for wet areas:
| Substrate | Suitable for wet areas? |
|---|---|
| Concrete slab (correctly cured) | Yes |
| Fibre cement sheet (≥6mm) | Yes |
| Cement-rendered masonry | Yes |
| Marine-grade plywood | Yes |
| Compressed cement sheet | Yes |
| Standard particleboard / MDF | No |
| Plasterboard (standard) | Walls only, outside wet zones |
| Water-resistant plasterboard | Walls only, with limits |
Particleboard flooring in wet areas is a well-known failure mode in Melbourne homes built between the 1980s and early 2000s. If your renovation exposes particleboard or MDF substrates in a wet area, they must be replaced before waterproofing — not waterproofed over.
Membrane Systems: What's Used in Melbourne
Most Melbourne bathrooms use one of three membrane families:
- •Liquid-applied polyurethane — Forms a tough, flexible membrane. Excellent for high-movement areas. Brands commonly specified include Ardex, Mapei, Bostik and Davco.
- •Liquid-applied acrylic — Easier to apply, lower cost, but less movement capacity. Suitable for less demanding applications.
- •Cementitious — Two-part cement-based system, good for new concrete substrates, less forgiving on timber.
Sheet membranes are also used in some specialist applications, particularly hobless showers and commercial work, but liquid-applied systems dominate Melbourne residential bathrooms.
Each system has specific requirements for the primer, the number of coats, the wet-film thickness, the reinforcing fabric at corners and penetrations, and the cure time between coats. Using a Brand A primer with Brand B membrane is not allowed under most manufacturer warranties — and a non-warranted system is essentially uninsured.
The Correct Sequence (and Why Each Step Matters)
A compliant bathroom waterproofing job typically follows this sequence over 3–5 working days:
- Day 1 — Substrate preparation. Sweep, vacuum and inspect the substrate. Repair any cracks, fill any voids. Apply the manufacturer's primer to the entire wet area. Cure overnight.
- Day 2 — Bond breaker and first coat. Apply bond-breaker tape to all internal corners and wall-floor junctions. Apply the first coat of waterproofing membrane to the manufacturer's specified wet-film thickness. Cure for the specified time (typically 12–24 hours).
- Day 3 — Second coat. Apply the second coat at right angles to the first to ensure full coverage. Cure for the manufacturer's specified time, typically 24–48 hours, longer in Melbourne's cooler months.
- Day 4 — Flood test. Block the drain, fill the shower base / floor with water to a depth that reaches the upstand. Mark the water level. Leave for 24 hours.
- Day 5 — Inspection and certification. Confirm no water loss. Issue compliance certificate. Hand over to the tiler.
The tiler must then use a compatible tile adhesive. Adhesive that's incompatible with the membrane can fail to bond properly, leading to drummy tiles and eventual membrane damage as tiles move.
Common Mistakes We See in Melbourne
1. Using the Wrong Membrane System
Not all waterproofing products are compatible with all tile adhesives and substrates. Using a membrane designed for external applications in an internal wet area (or vice versa) can lead to adhesion failure.
2. Insufficient Drying Time
Waterproofing membranes need adequate drying time between coats. In Melbourne's cooler months, this can be 24–48 hours. Rushing this step — particularly when a tiler is scheduled for the next day — is a recipe for failure. The tell-tale sign of a rushed job is bubbling under the membrane within the first year.
3. Skipping the Flood Test
Before tiling, the waterproofed area should be flood-tested. This involves blocking the drain, filling the area with water to the height of the upstand, and leaving it for 24 hours. If the water level drops, there's a breach in the membrane that must be found and repaired. A waterproofer who pushes back on flood testing is telling you they don't trust their own work.
4. No Compliance Certificate
A compliance certificate stating the work meets AS 3740-2021 should be issued on completion and supplied to the homeowner. If your waterproofer can't or won't provide one, that's a significant red flag — and you'll likely have trouble with insurance, future warranty claims, and resale due-diligence.
5. Inadequate Upstand at Doorways
The 40mm upstand at doorways and the 150mm upstand at walls are often skimped on when finished floor levels are tight. A 40mm shortfall here is the difference between a watertight bathroom and a flood path into the hallway.
6. Penetrations Not Properly Detailed
Tap penetrations, shower mixer bodies, drain flanges and floor waste outlets need specific detailing — usually a proprietary collar bonded to the membrane and primed appropriately. Standard silicone around a pipe is not compliant detailing.
7. Hobless Shower Done Without Engineered Drainage
Hobless showers under AS 3740-2021 have stricter requirements because there's no physical barrier containing the water. The substrate slope, the drain type (point vs linear), and the membrane termination all need to be designed together. A retrofit hobless shower without engineered drainage is one of the highest-risk configurations.
How Much Should Bathroom Waterproofing Cost?
For a standard bathroom in Melbourne (approximately 4–6 square metres), professional waterproofing typically costs:
| Scope | Indicative range |
|---|---|
| Supply and application of membrane only | $800 – $1,500 |
| Including hob construction and falls | $1,500 – $2,500 |
| Full wet area preparation (demo, hob, falls, membrane, certification) | $2,500 – $4,500 |
| Hobless shower (additional complexity) | Add $500 – $1,500 |
| Upper-level bathroom on timber subfloor | Add $400 – $1,000 |
These figures vary based on:
- •Size and complexity of the bathroom
- •Whether it's a ground floor (slab) or upper level (timber or concrete)
- •Condition of the existing substrate (rotten timber, cracked concrete, or particleboard requiring replacement add cost)
- •Type of shower (hob vs hobless)
- •Whether you're using a single trade or a head contractor co-ordinating multiple trades
If a waterproofer is quoting significantly below these ranges, ask exactly what's included. Common omissions: primer, reinforcing fabric at corners, flood test, compliance certificate, warranty.
Compliance Paperwork and Why It Matters
A compliant Victorian bathroom waterproofing job comes with documentation that includes:
- •Compliance certificate from the waterproofer stating the work meets AS 3740-2021
- •Product warranty from the membrane manufacturer (typically 10–25 years)
- •Workmanship warranty from the contractor (typically 6–10 years)
- •Material data sheets showing exactly what was used
- •Photos of the flood test (good contractors document this routinely)
This documentation matters in three scenarios:
- Insurance claims. If a water damage event occurs later, your insurer may ask for proof the original work was compliant.
- Home warranty (Domestic Building Insurance). For building work over $16,000, DBI covers structural defects for 6 years and non-structural for 2 years.
- Resale. Buyer's inspection reports increasingly look for documentation of recent wet area work. Without it, buyers and their solicitors get nervous, and you may face price chips or extended settlement conditions.
A Realistic Project Timeline
For a bathroom renovation that includes waterproofing:
| Week | Activity |
|---|---|
| 1 | Strip-out, plumbing rough-in, electrical rough-in |
| 1–2 | Substrate repair, screed, hob construction, falls |
| 2 | Plasterboard, cement sheet, primer |
| 2–3 | Waterproofing (3–5 days including cure and flood test) |
| 3 | Tiling and grouting |
| 4 | Plumbing fit-off, electrical fit-off, glass, painting |
| 4 | Clean and handover |
Compressed timelines that try to fit waterproofing and tiling into the same day are a leading cause of failures. If your builder's program shows the waterproofer finishing on a Monday afternoon and the tiler starting Tuesday morning, the membrane has not been allowed to cure properly.
What to Ask Your Waterproofer Before They Start
- What are your qualifications and registrations to do this work, and can I see them?
- Which membrane system will you use, and why this one for my bathroom?
- What is the cure time you're allowing between coats and before tiling?
- Will you flood test for 24 hours, and will you photograph it?
- What compliance certificate and warranties will I receive on completion?
- Is the substrate suitable, or do you need anything replaced first?
- What's your process if the flood test fails?
A waterproofer who can answer these clearly is one you can trust. A waterproofer who waves them off is one to walk away from.
The Bottom Line
Bathroom waterproofing is not a cost to cut. The membrane is buried beneath tiles and cannot be inspected or maintained once the bathroom is finished. If it fails, the entire bathroom needs to be stripped back to repair it.
At Humble Maintenance Care, we see the aftermath of poor waterproofing regularly — bathrooms that are only 3–5 years old with water damage to adjacent rooms and lower levels. Every bathroom we waterproof is done to Australian Standards, flood-tested, and certified. Because doing it once and doing it right is always cheaper than doing it twice.
Need help with this?
If you're dealing with any of the issues discussed in this article, we can help. Get a free assessment or upload a photo for instant AI analysis.