Melbourne Winter Waterproofing Checklist: Protect Your Property Before the Rain
Before Melbourne's winter rains arrive (ideally in April–May), inspect every waterproofing membrane for cracks and ponding, clear all drains and downpipes, replace any window or door perimeter sealant older than 8–10 years, check expansion joints for hardened sealant, confirm subfloor vents are unobstructed, and run a flood-style test on wet area waterproofing. Reactive repairs after water ingress typically cost 5–10× more than the equivalent preventative maintenance, which makes this the highest-ROI maintenance task on a Melbourne property each year.
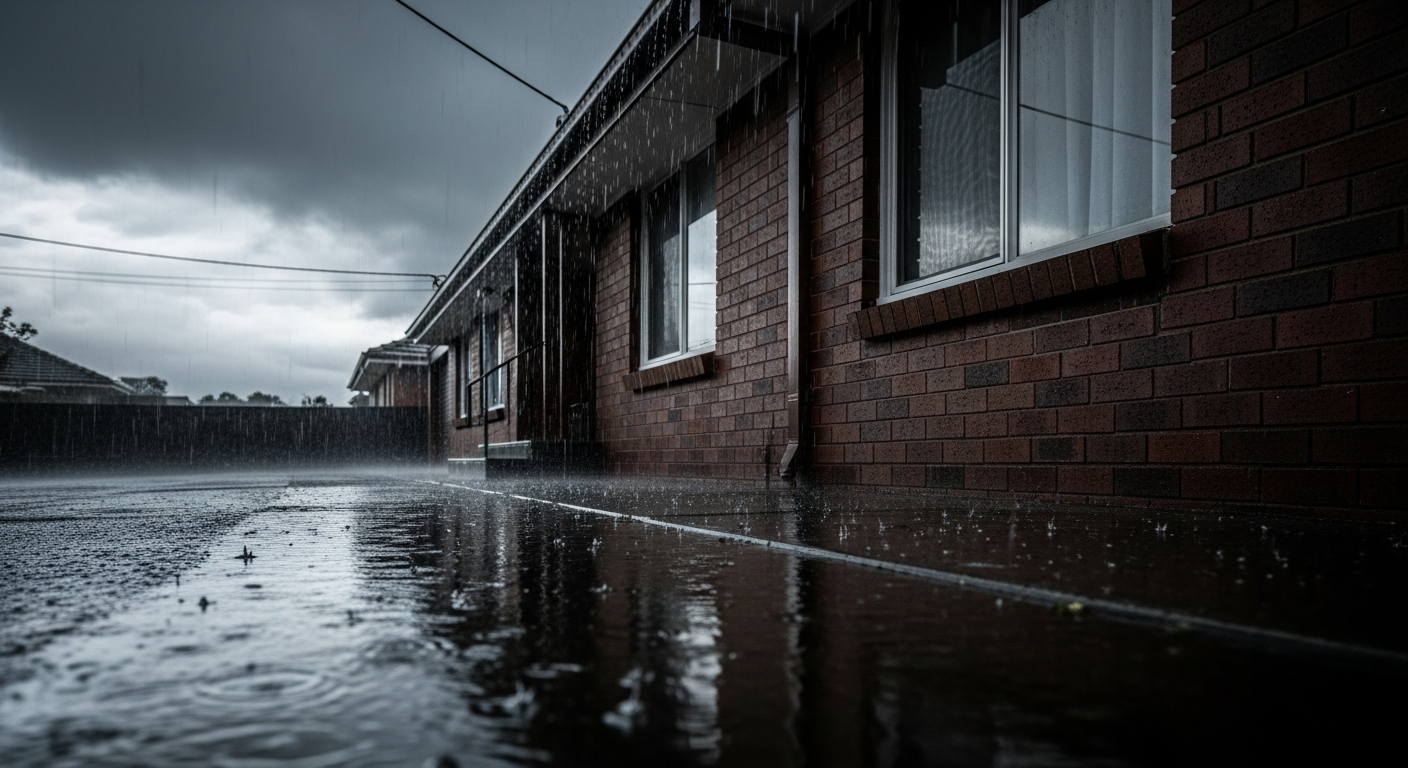
Melbourne's winter delivers an average of 650mm of rainfall. Here's your essential pre-winter checklist to prevent costly water damage to your home or commercial property.
Melbourne's winter season brings persistent rain, cold snaps, and the kind of sustained moisture that finds every weakness in a building's envelope. From June through August, properties across the western and northern suburbs cop the worst of it — driving rain from the north-west, combined with aging membranes and deteriorating sealants, means small issues can become major failures in a matter of weeks.
Why Winter Preparation Matters
Melbourne averages around 650mm of rainfall a year according to the Bureau of Meteorology, but the real story isn't the total — it's the distribution. Winter months bring frequent, sustained rain events combined with low temperatures and short drying windows. A bathroom or balcony defect that quietly leaked a few hundred millilitres a week through summer can suddenly transfer litres per rain event through winter, turning a manageable repair into a structural problem.
The cost of reactive repairs after a water ingress event can be five to ten times the cost of preventative maintenance. A leaking balcony that could have been re-sealed for $2,000 in autumn can result in structural timber damage, mould remediation, and plasterboard replacement costing $15,000 or more by spring. For commercial properties and apartment buildings, the multiplier is even higher — once water reaches a fire-rated ceiling void or a common-property soffit, you're into specialist trades, scaffold, and owners corporation paperwork.
A second reason to take pre-winter maintenance seriously: many home and commercial insurance policies in Australia specifically exclude damage that arises from "lack of maintenance" or "gradual deterioration." If you only notice a leak in July and the loss adjuster can document that the cause was a five-year-old failed sealant, you may end up wearing the full repair cost yourself. A documented annual inspection — even just photos and a dated checklist — gives you a maintenance trail that protects your claim if a sudden event does occur.
When to Do the Work
The ideal window in Melbourne is April to mid-May. By then the summer UV damage is visible, the autumn winds have shown you which gutters are blocked, and you still have warm enough, dry enough weather for waterproofing products to cure properly. Most membrane primers and sealants need surface temperatures above 5–10°C and a 24–48 hour dry window to cure correctly — both of which become hard to guarantee from late May onwards.
Trade availability is also a factor. Good waterproofers and roofers in Melbourne are typically booked 4–8 weeks out by the time the first heavy June rain falls, and emergency call-out rates apply once a leak is active. Booking your assessment in March or early April gives you the leverage of choosing your contractor rather than taking whoever is free.
Your Pre-Winter Checklist
1. Inspect All Waterproofing Membranes
Walk every balcony, terrace, and flat roof area. Look for:
- •Cracking or peeling membrane surfaces
- •Lifting at upstands and wall junctions (the most common failure point)
- •Ponding water that isn't draining within 24 hours of rain
- •Vegetation growing through joints or cracks (a sure sign of a breach)
- •White salt deposits (efflorescence) on adjacent surfaces, which means water is tracking through concrete
- •Drummy tiles — tap with a coin handle; a hollow sound means the bed has separated from the substrate
External above-ground waterproofing in Victoria should comply with AS 4654.1 (membrane materials) and AS 4654.2 (design and installation). A correctly installed system has a documented minimum service life — typically 10 years for liquid-applied polyurethane and PMMA systems and 15+ years for sheet membranes — but real-world life is heavily affected by UV exposure, mechanical damage, and the quality of the upstand and termination detailing.
2. Clear All Drainage Points
Blocked drains are the single most common cause of water damage we see across Melbourne. Before winter:
- •Remove leaf litter and debris from all floor wastes and box gutters
- •Check downpipe connections are secure and flowing freely
- •Ensure overflow outlets are unobstructed (these are the secondary drains that prevent ponding when the primary blocks)
- •Test relief drains on balconies by pouring a bucket of water near each drain and watching where it goes
- •For commercial flat roofs with internal drains, lift the strainer cap and clear the sump itself, not just the surface
If a box gutter overflows internally, water will run along the structure and emerge metres away from the source — a leak appearing in a Brunswick first-floor bedroom can easily be traced back to a blocked downpipe on the opposite side of the building. Pour-and-trace testing in autumn finds these problems before they manifest as ceiling damage.
3. Check Window and Door Seals
Perimeter sealants around windows and sliding doors have a lifespan of 8–12 years. In suburbs like Coburg and Brunswick, many properties built in the 2005–2015 boom are now reaching the point where original sealants are failing. Things to look for:
- •Sealant that has pulled away from one substrate (a "cohesive" failure)
- •Sealant that has cracked through its thickness
- •Sealant that crumbles when pressed with a fingernail (UV-degraded)
- •Gaps at corners where multiple substrates meet
Use a neutral-cure silicone for general perimeter sealing — never acetic-cure (you'll smell vinegar) on metal frames, as the acetic acid corrodes aluminium and steel over time. For larger gaps, a backing rod plus polyurethane sealant provides better movement capacity than silicone alone.
4. Inspect Expansion Joints
Expansion joints in concrete structures are designed to move. If the sealant in these joints has hardened, cracked, or fallen out, water will track through the concrete and cause spalling, reinforcement corrosion, and staining. On Melbourne commercial buildings — particularly podium slabs, concrete deck car parks, and tilt-slab facades — expansion joint maintenance is the single most overlooked item on the maintenance schedule.
Sealant lifespan in expansion joints depends on movement and UV exposure. As a rough guide:
- •Polyurethane in shaded joints: 10–15 years
- •Polyurethane in UV-exposed joints: 5–8 years
- •Silicone in UV-exposed joints: 10–15 years (better UV resistance, lower movement capacity)
5. Review Basement and Subfloor Ventilation
Homes in low-lying suburbs such as Werribee and Hoppers Crossing — where soil is heavy clay and water tables sit close to the surface — should pay particular attention to subfloor ventilation. Ensure vents aren't blocked by soil, mulch, garden beds, or stored items. A damp subfloor accelerates timber decay, attracts termites, and creates the conditions for mould that eventually rises into living spaces.
The minimum subfloor cross-ventilation under the NCC is calculated against floor area, but in practice many Melbourne homes built before 2000 have inadequate venting, blocked vents from later landscaping, or both. If you can smell mustiness in a hallway after a wet weekend, the subfloor is already telling you it needs attention.
6. Test Wet Area Waterproofing
Run showers and baths for extended periods and check for:
- •Damp patches on ceilings below bathrooms
- •Musty smells indicating hidden moisture in adjacent rooms
- •Grout deterioration in shower recesses (cracked grout is a warning, not the cause)
- •Movement cracks at wall-floor junctions or where two substrates meet
- •Silicone in the shower recess that has gone black with mould or pulled away from tiles
Internal wet area waterproofing in Victoria must comply with AS 3740-2021. If you're seeing the symptoms above on a bathroom less than 10 years old, the original work was likely non-compliant and the only durable fix is strip-out and re-waterproofing — re-grouting alone does not restore a failed membrane.
DIY vs Professional: Where the Line Sits
| Task | Reasonable DIY | Professional Required |
|---|---|---|
| Replace silicone around bath/sink | ✓ | |
| Clear gutters and downpipes | ✓ | |
| Test drainage with bucket of water | ✓ | |
| Apply concrete sealer to path/driveway | ✓ | |
| Re-grout a few cracked grout lines | ✓ | |
| Replace expansion joint sealant on a podium | ✓ | |
| Re-waterproof a shower or bathroom | ✓ (legal requirement) | |
| Repair or replace a balcony membrane | ✓ | |
| Diagnose rising damp or subfloor moisture | ✓ | |
| Repair flashings or roof membrane | ✓ |
Internal wet area waterproofing should always be carried out by a qualified, experienced waterproofer who can issue a compliance certificate against AS 3740-2021 and provide a workmanship warranty. Before engaging anyone, verify their credentials, insurance and warranty in writing — and check the current licensing or registration requirements that apply in your state, as these change from time to time.
What an Inspection Should Cost
For a typical Melbourne residential property, expect:
- •DIY visual inspection (self-performed): Free, takes 1–2 hours
- •Professional pre-winter inspection (residential): $0–$450 depending on contractor and scope
- •Detailed condition report with photos and prioritised repair schedule: $400–$900
- •Commercial / multi-residential building inspection: $800–$3,000+ depending on size and access
A good inspection report should categorise findings by urgency (urgent / important / plan ahead), include photos of each issue, reference the relevant standard or expected service life, and provide an indicative cost range for each repair item. If a report just says "balcony needs work — $X" without explanation, get a second opinion.
A Realistic Maintenance Schedule
Annual checklist — everything in this article, done once a year before winter.
Quarterly checks:
- •Clear gutters and downpipes (more often if you have deciduous trees nearby)
- •Visual check of balconies and roofs after any major storm
- •Check silicone in shower recesses
Every 5–7 years:
- •Replace UV-exposed sealants regardless of visible condition
- •Professional inspection of any waterproofing membrane more than 10 years old
- •Re-coat exposed liquid membranes per manufacturer specification
Keep all inspection reports, invoices, compliance certificates, and warranty documents in one folder (digital is fine). This documentation is essential for insurance claims, body-corporate disputes, and resale due-diligence.
Common Questions
When is the latest I can leave winter prep?
By mid-May at the latest. After that, cold and damp conditions stop most waterproofing products from curing properly, and the trade availability window closes.
Is a pre-winter inspection worthwhile if my building is less than 5 years old?
Yes. Many of the most expensive failures we see are on buildings 3–5 years old where defective original work has just started to manifest. Domestic Building Insurance in Victoria covers structural defects for 6 years and non-structural defects for 2 years from completion — catching defects early protects your warranty position before those windows close.
What about strata buildings?
For owners corporations, the same checklist applies but at a building scale. The OC is responsible for common property (roofs, common-area drainage, podium slabs, facade) and lot owners for their own lots (interior wet areas, lot-side of balcony membranes depending on the plan of subdivision). A consolidated annual inspection co-ordinated by the OC is significantly cheaper and more effective than ad-hoc lot-by-lot inspections.
Will my insurer accept a DIY inspection record?
A self-performed checklist with dated photos is better than nothing, but for higher-value properties or commercial buildings, a professional inspection report carries significantly more weight with insurers and is normally the documentation they ask for after a claim.
When to Call a Professional
If you find any of the issues listed above, don't wait for winter to make them worse. A professional assessment can identify the extent of the problem and provide a targeted repair plan before the heavy rains arrive.
At Humble Maintenance Care, we offer free pre-winter property inspections across Melbourne's west and north. Our team can identify vulnerabilities, prioritise repairs by urgency, and provide transparent quotes — no surprises, no pressure.
Need help with this?
If you're dealing with any of the issues discussed in this article, we can help. Get a free assessment or upload a photo for instant AI analysis.